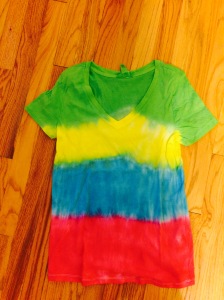
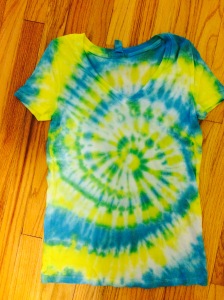
I’ve always been a huge fan of tie-dyed anything, and at some point it finally occurred to me that I could just do it myself. I could buy clothing that I like, pick colors that I like, and make designs THAT I ACTUALLY LIKE. Crazy, right?
1. Buy clothes that you like. Better yet, use clothes you already have. That tank that isn’t quite white anymore? That shirt with the weird stain you cant get out? Tie dye them all- make them wearable again and save yourself money! I went and bought some basic white v-necks from forever21 ($3.90 a piece), and grabbed some old stained white shirts.
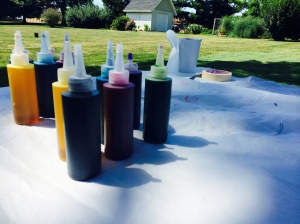
2. Buy some dye, rubber bands, and gloves. If you can, just buy a tie dye kit- it’ll already have gloves and rubber bands in it, and you can usually get kits with multiple colors that will look good together. For my project, I bought a kit with 4 neon colors and black in it.
3. Pick your design(s). There are so many patterns out there, most of which are pretty simple, so think about what you like and what you’ll wear most.
4. Prep your work area. Dye is pretty permanent, and will ruin most surfaces, so I like to use a crappy plastic table or do it outside on pavement, and I prefer to cover my area with a plastic tablecloth or just trash bags.
5. Wet your garments. Just take a bucket of clean water and soak them all. This helps the dye run and blend, so you get that classic tie-dye look.
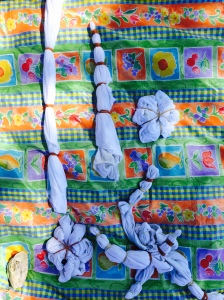
6. Tie. Roll, fold, and tie your garments according to pattern specifications. You can find some fun patterns with tutorials here.
7. Dye. Make sure to start with light colors and end with dark colors, and rinse your gloves in between each color, because the you don’t want to ruin your garments. Remember to think about what you want to leave white vs. what you want to be full colored. More dye means darker, richer colors.
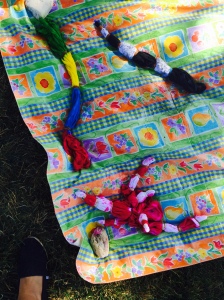
8. Wrap and wait. Carefully wrap your garments with plastic wrap and bag them, so that the dyes don’t bleed into each other. Let your creations sit for at least 24 hours.
9. Unwrap, untie. Once your pieces have had time to set, prep a work area with a sink or a tub that you don’t mind getting messy, and carefully unwrap your pieces and cut off the rubber bands. Be mindful that the dye is still potent and you can ruin your pieces if you don’t handle them carefully.
10. Rinse. Run your garments under cold water so that the dye stops reacting with the fabric. Rinse pieces thoroughly until the water runs off of them clear.
11. Wash. Wash each garment individually in cold water, on the delicate/hand wash cycle. Then, let the items dry and you’re good to go.
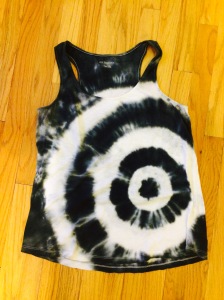
Now, you can proudly wear your creations and wash them with the rest of your clothes. Get creative and have fun with it! Here are my finished shirts:
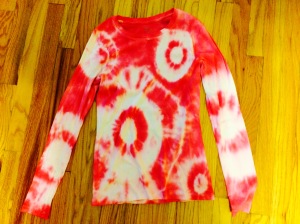
Don’t forget to follow @GirlTriesStuff on Twitter, Instagram, and Bloglovin‘!

